
Step 1: What is Inside the Box?
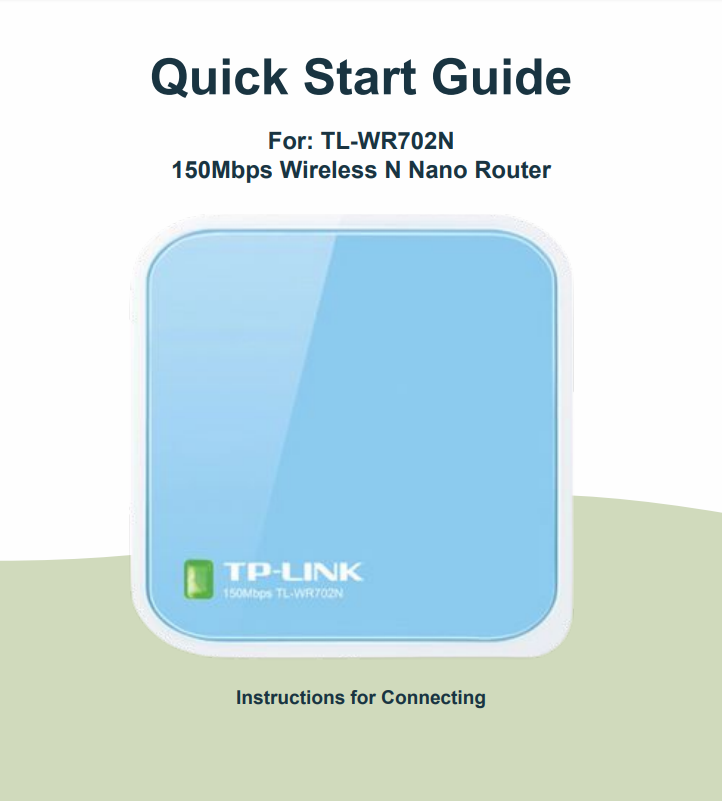
1. TL-WR702N Nano Router
2. Cat-5 Ethernet Cable
3. Power Cable
4. Outlet Power Adapter
Step 2: Connecting the Device
1. While in range of a WiFi network with a known password, connect the nano router to a power source via the power cable then connect it to a computer via the ethernet cable.
2. Once communication has been established between the nano router and the computer, type “https://tplinklogin.net” into an internet browser on the computer to navigate to the configuration site.
3. If asked for a username/password, type “admin” into both text fields and submit.
4. On the left side of the site, navigate to the Quick Setup tab and click “Next”.
5. Make sure Client Mode is selected, then click “Next”.
6. Click the “Survey” button to find the available wireless networks
7. Locate the SSID of the known network you wish to connect to and click “Connect”
8. The target network’s SSID will automatically fill into the corresponding text boxes, but you must type the password of the known network into the “Password” field. Click “Next”.
9. Click “Reboot” and wait for the nano router and site to refresh. Once refreshed, internet connectivity should be established from the TP Link device through your MyFi 10. You are ready to power the Veea. Refer to Veea - Power over Ethernet guide