In this quick start guide you will learn how to dismantle, replace the battery, and reassemble your SenseCAP S2103 Temperature/Humidity/CO₂ sensor.
Step 1: What You Need
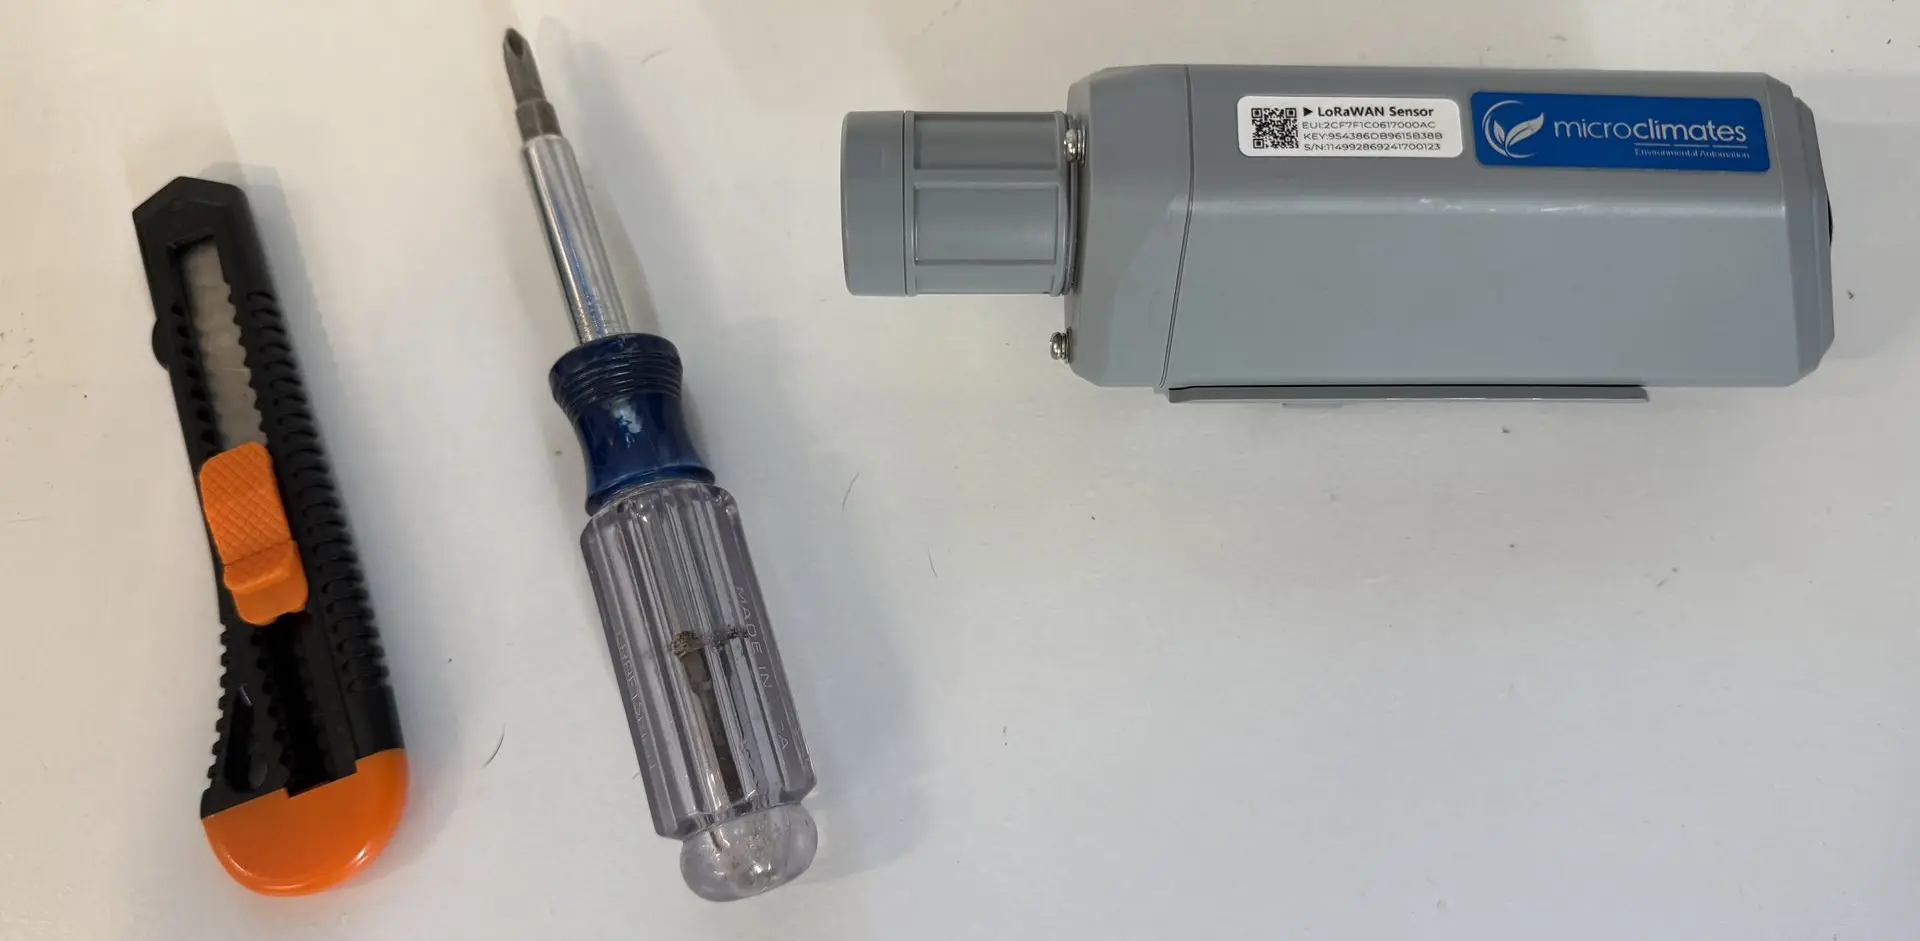
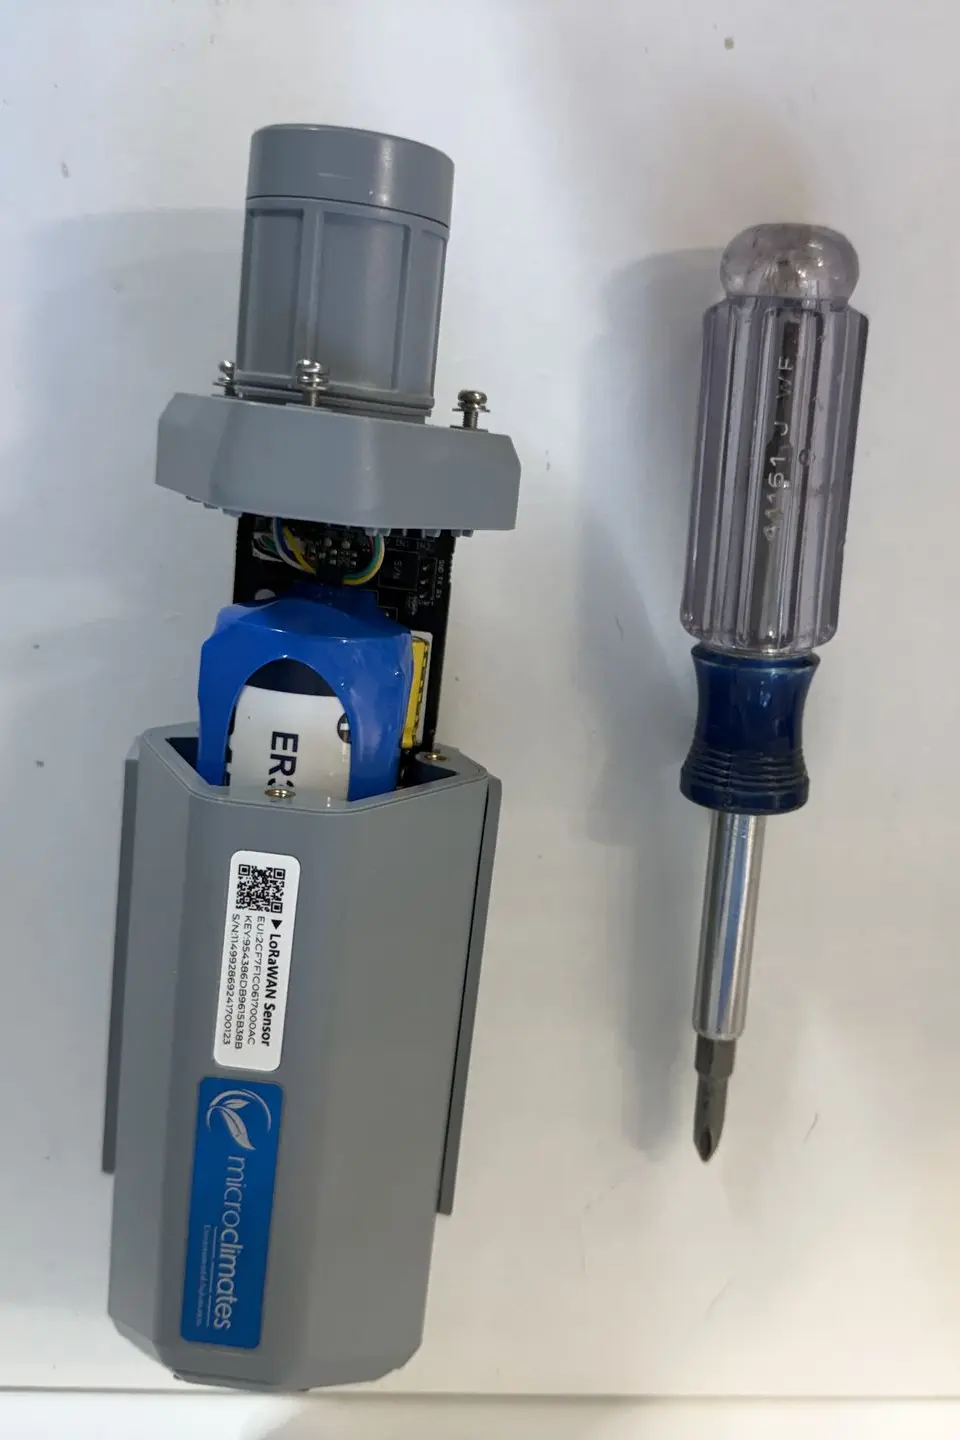
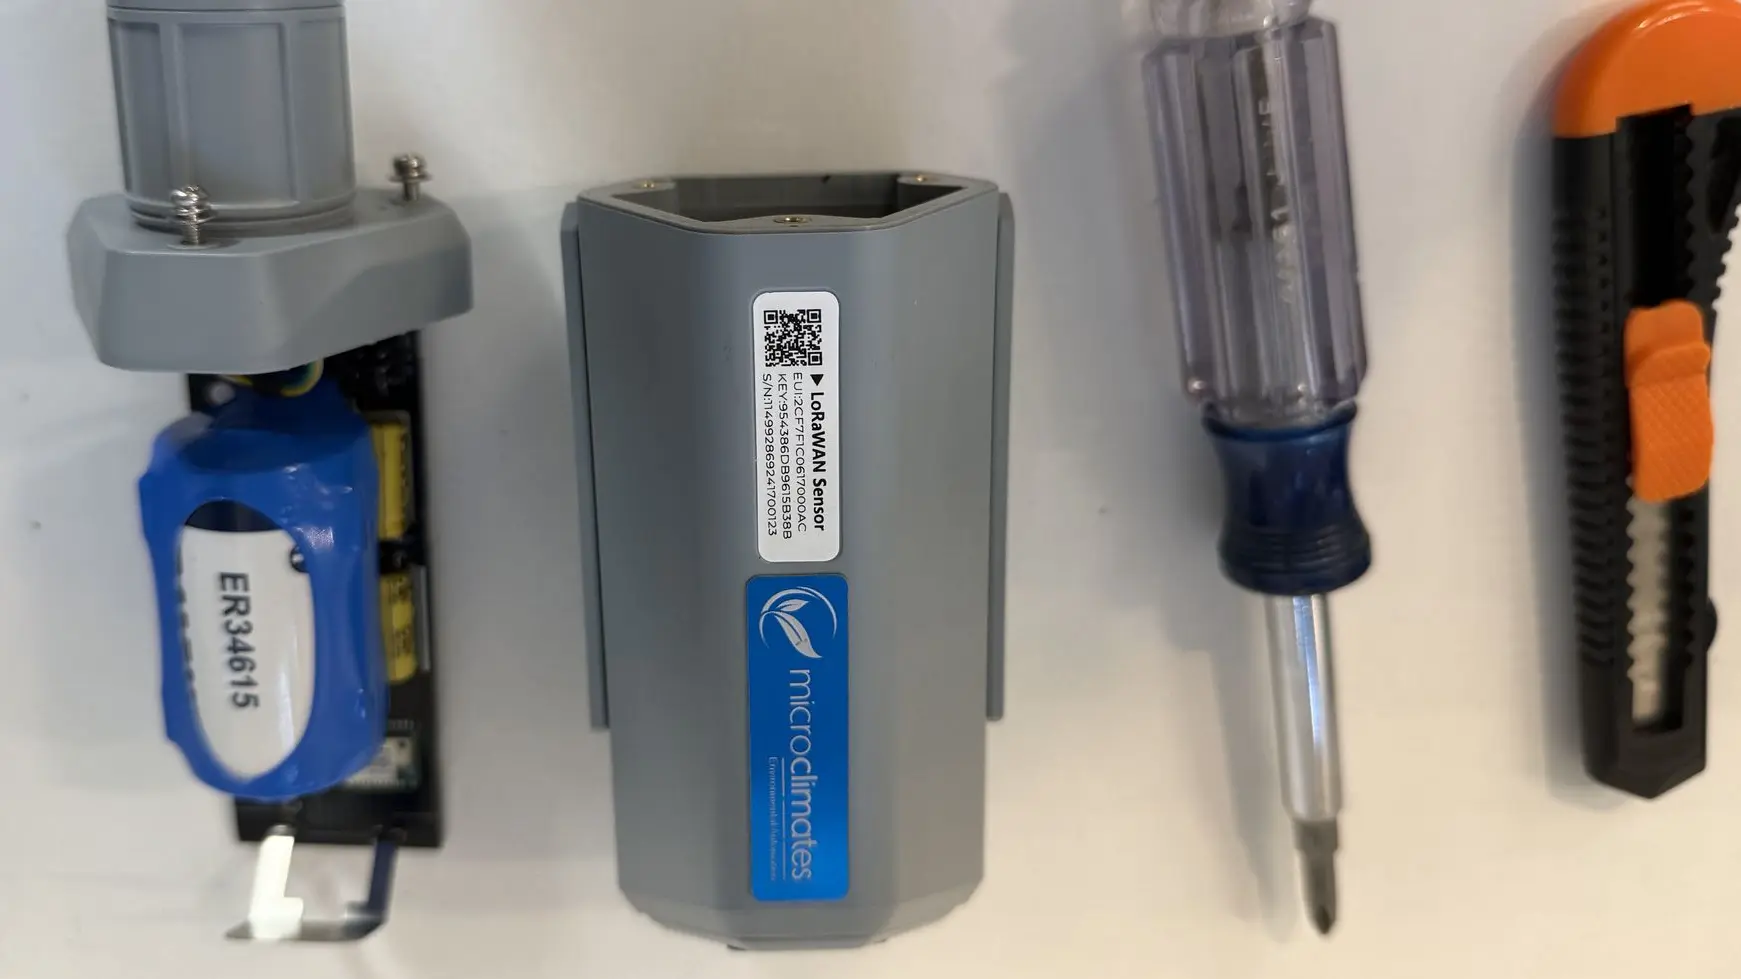
- Gather your S2103 sensor, an appropriate Phillips head screwdriver, a box knife or equivalent cutting tool, and your replacement battery.
Step 2: Unscrewing the Cap and Removing the Casing
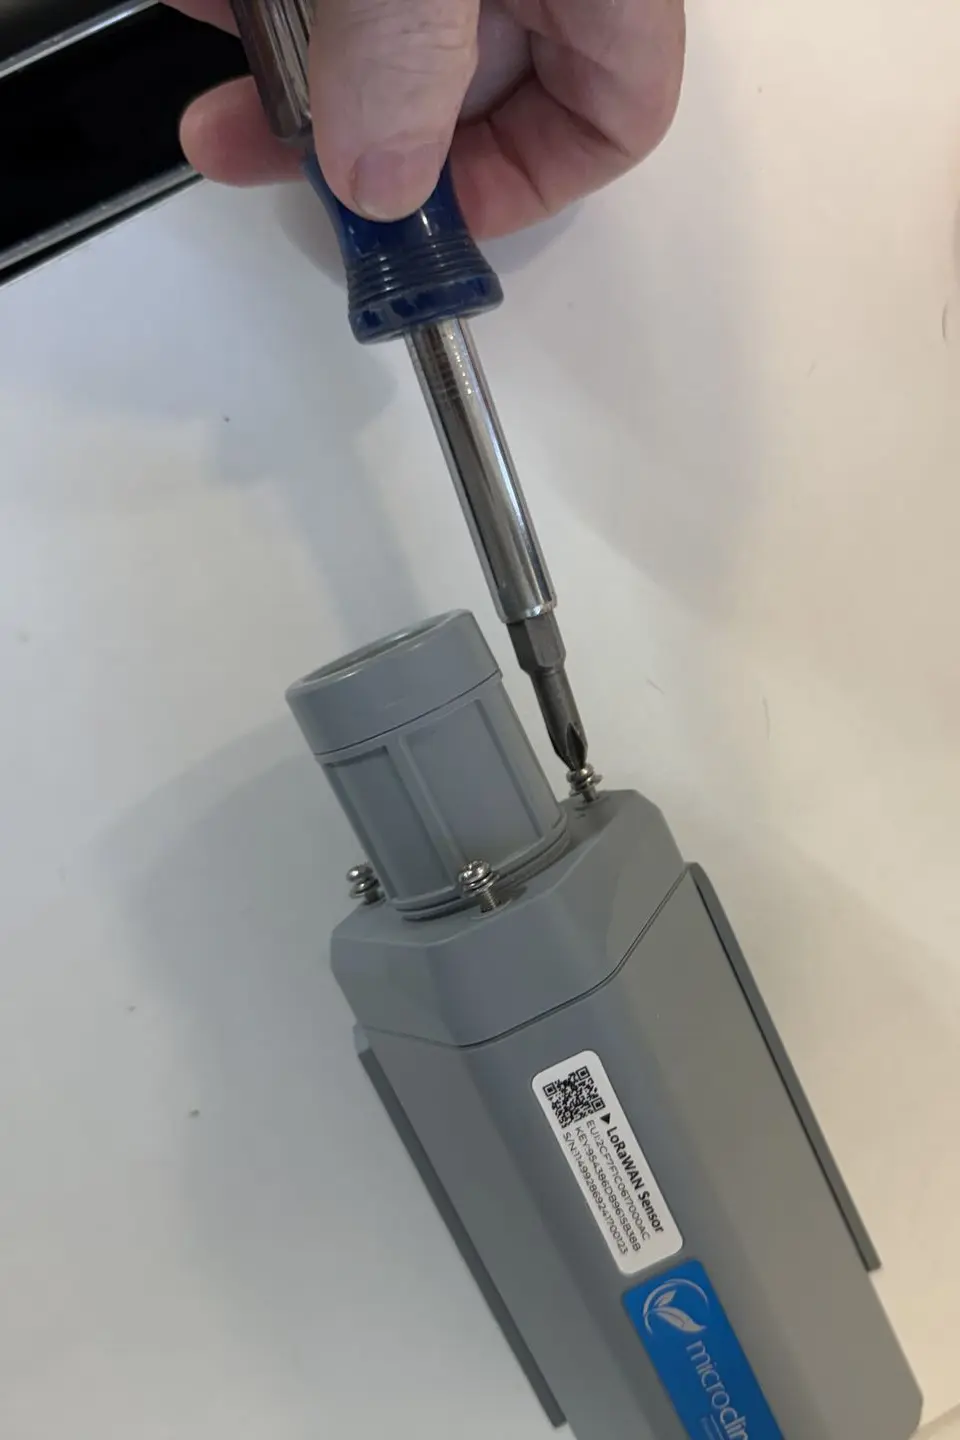
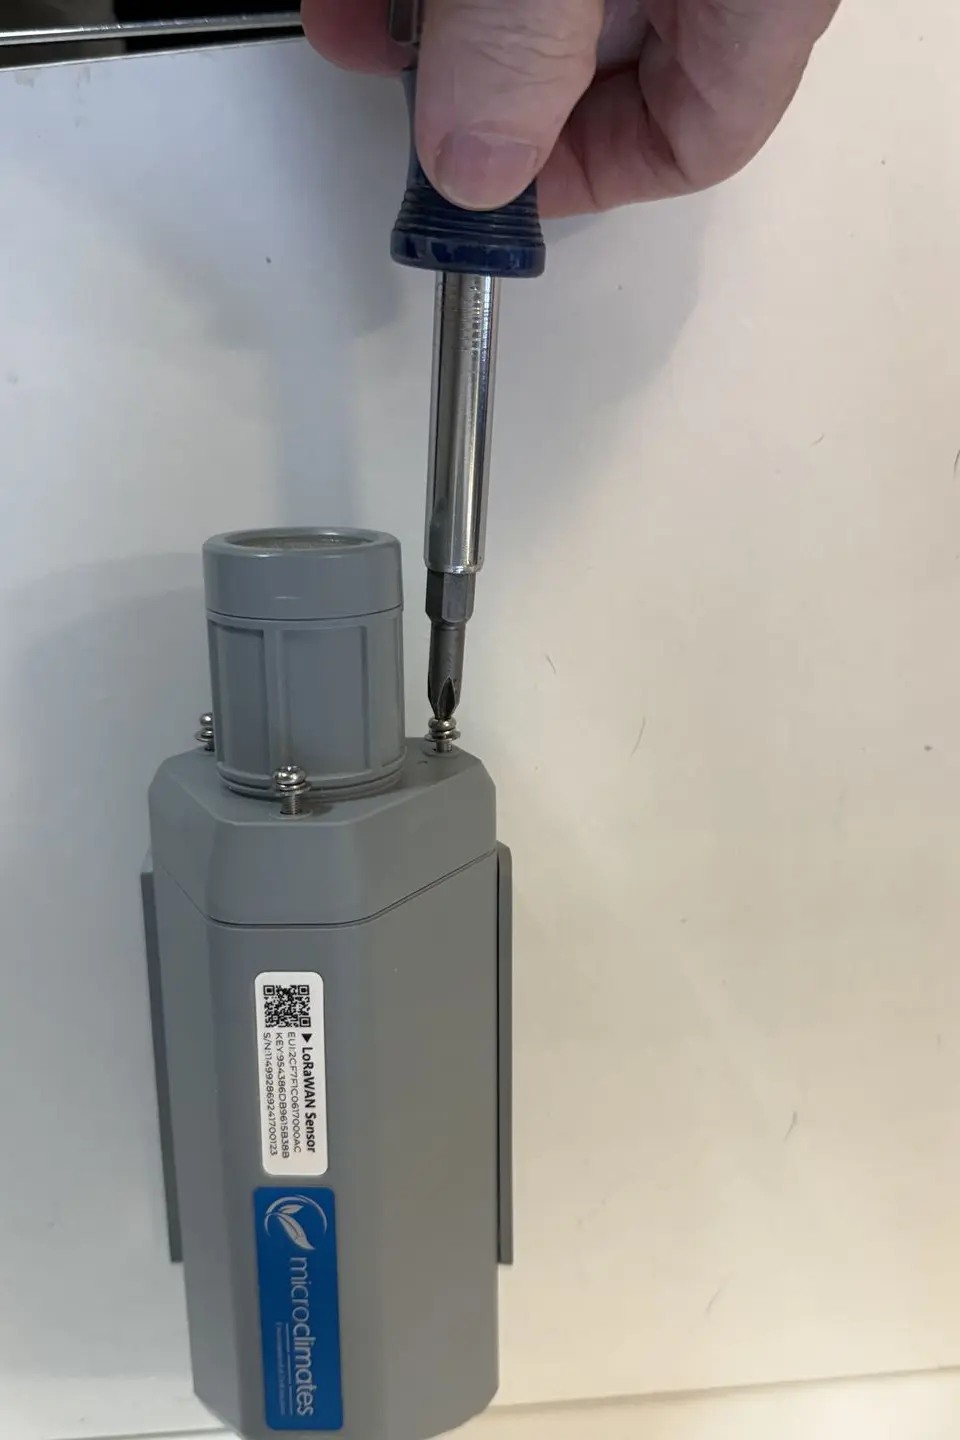
- Use your Phillips head screwdriver to unscrew the three screws connecting the cap to the casing of your sensor and carefully slide the device out of its casing.
Step 3: Removing Plastic Wrapping and Detach Battery
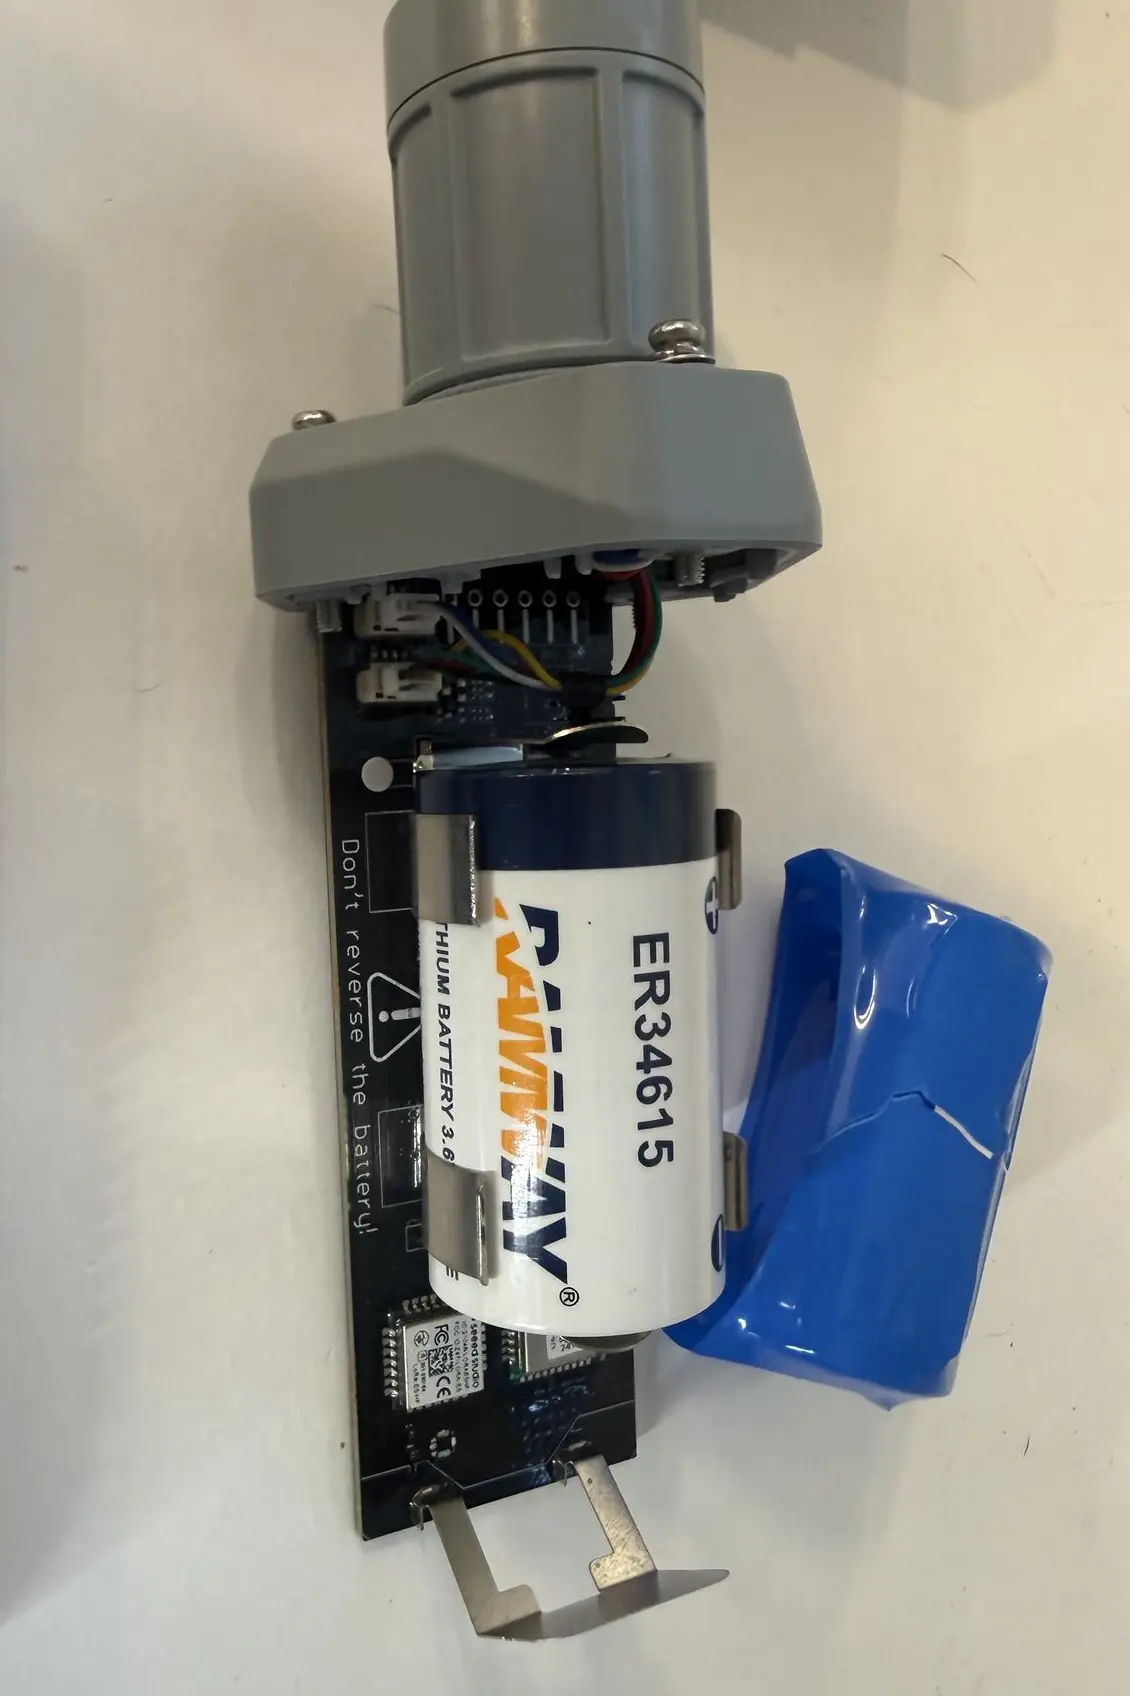
- Use your cutting tool to carefully remove the plastic wrapping from the battery holder. Then, remove the battery by gripping it firmly and pulling it straight up out of the holder.
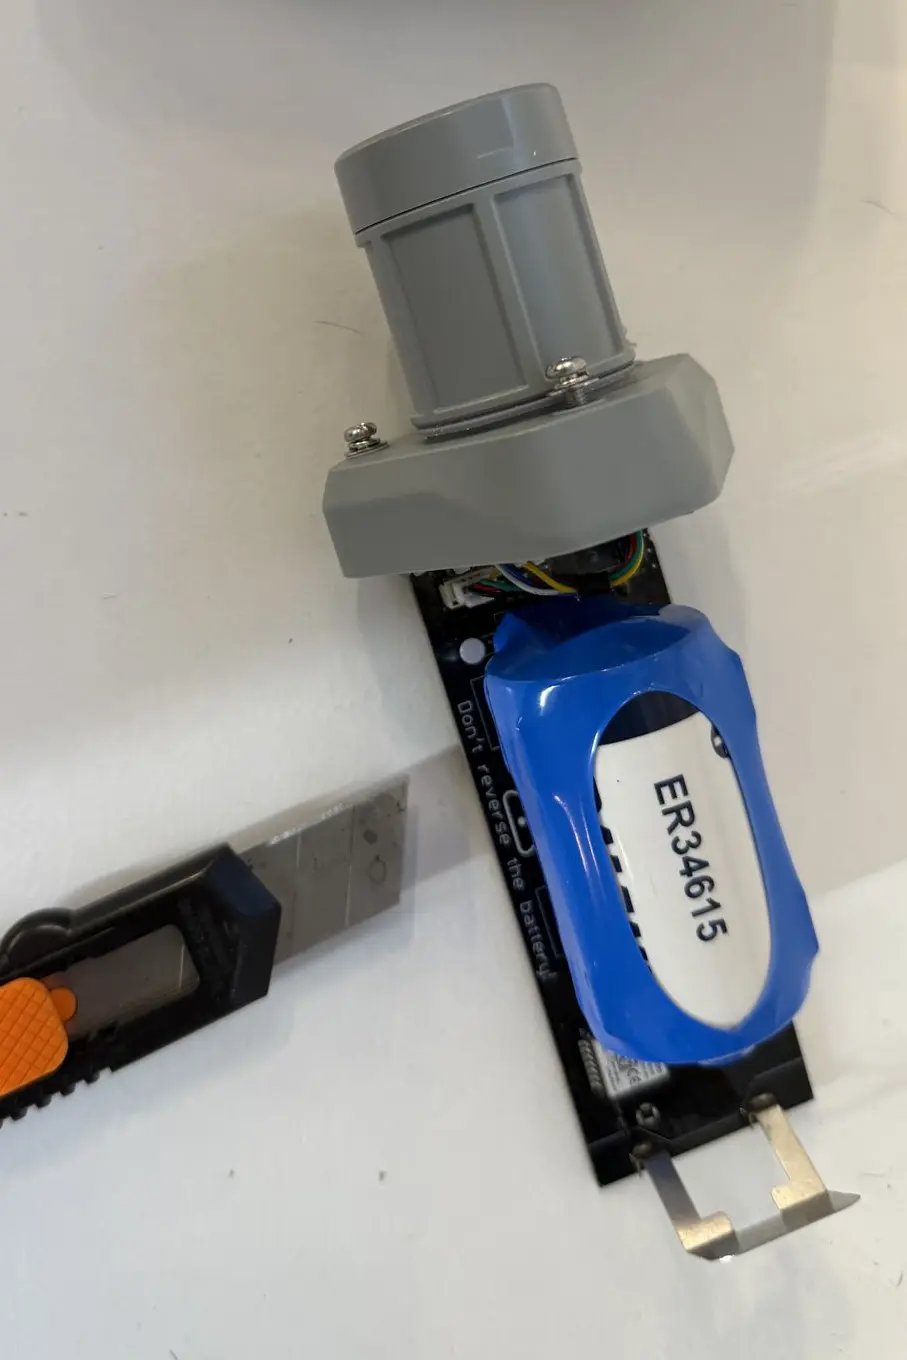
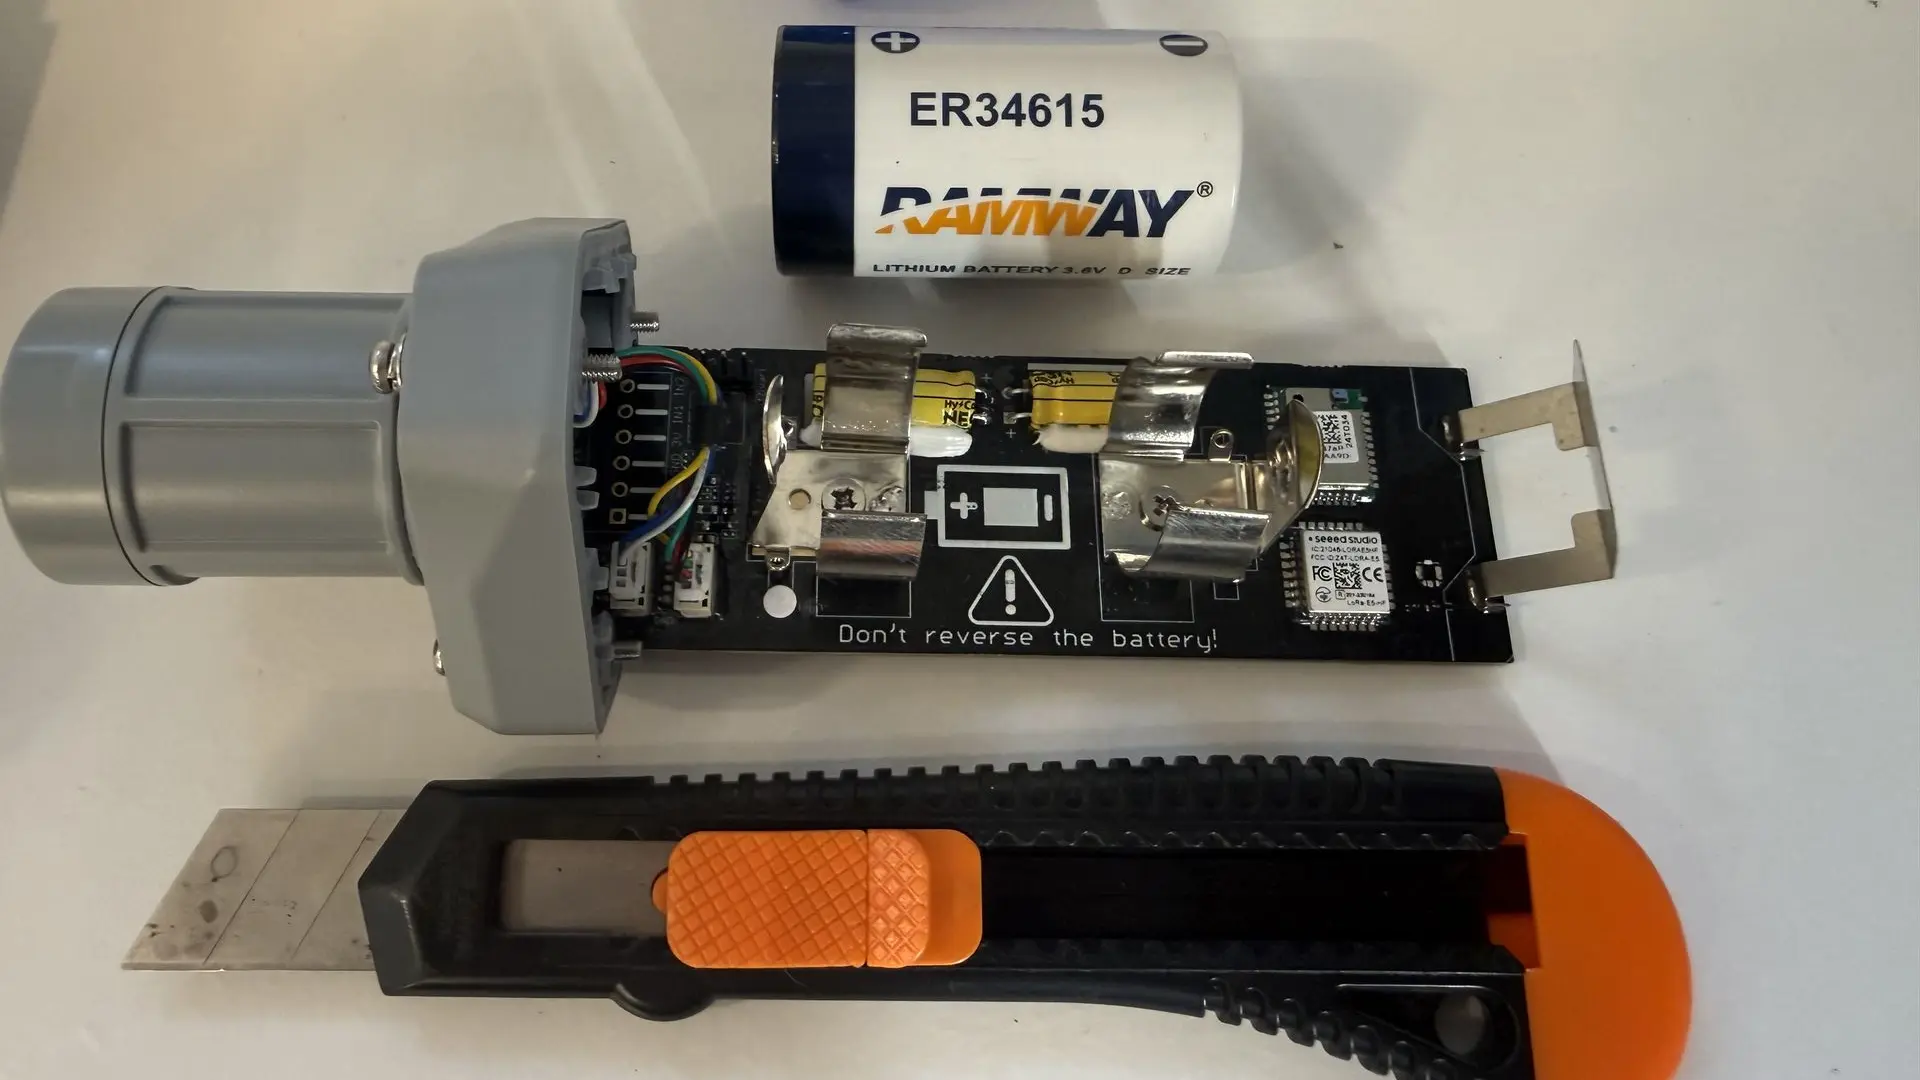
(This plastic wrapping is in place for protective purposes during product transit and is not necessary for standard operation)
Step 4: Replacing Battery
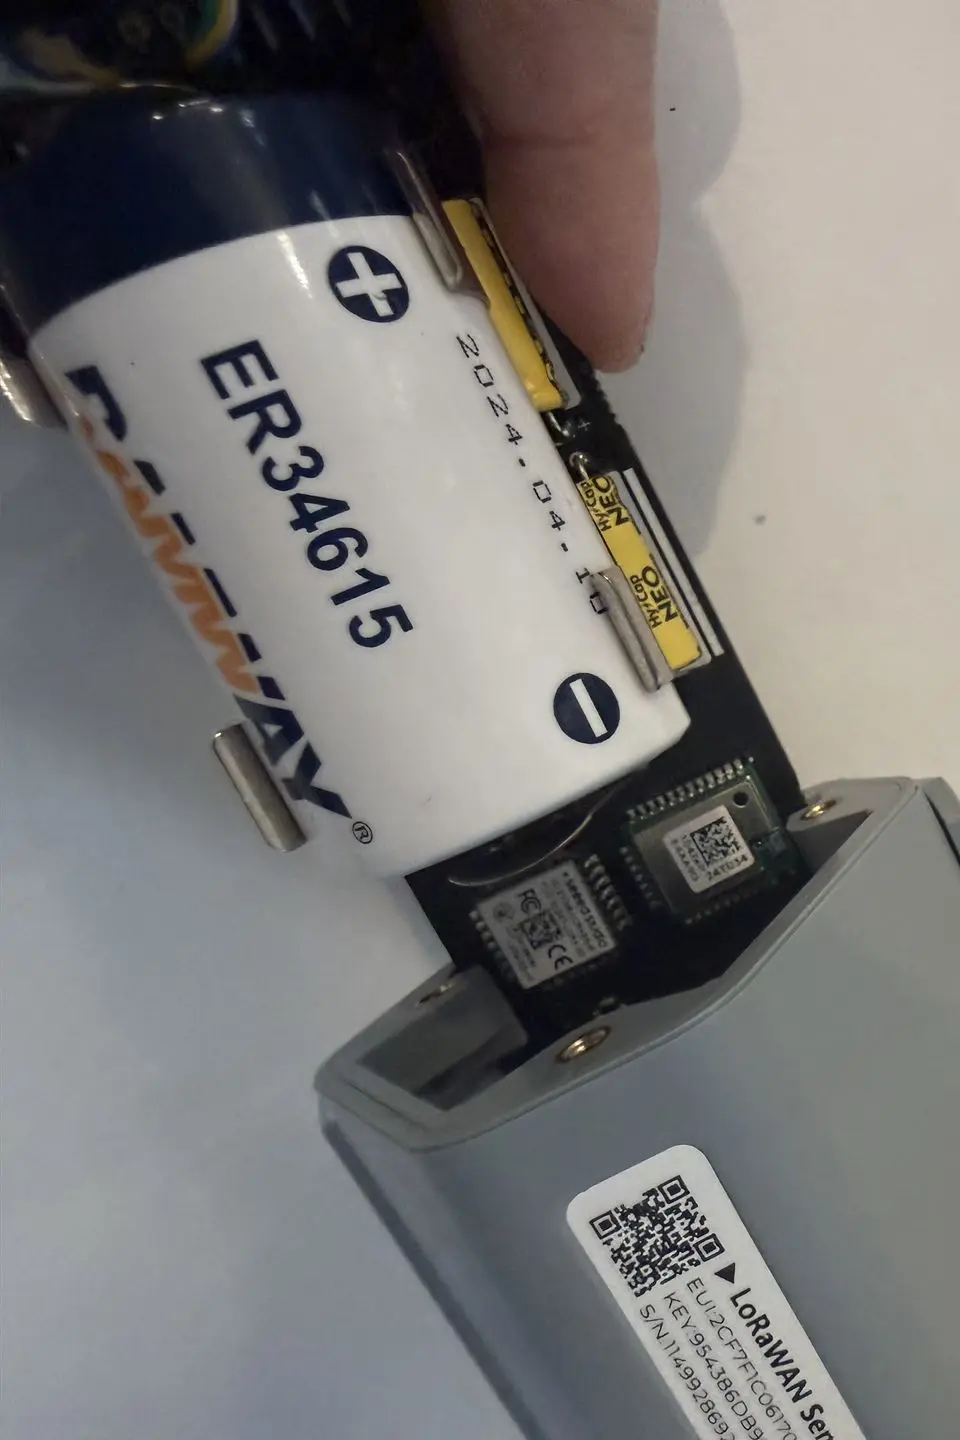
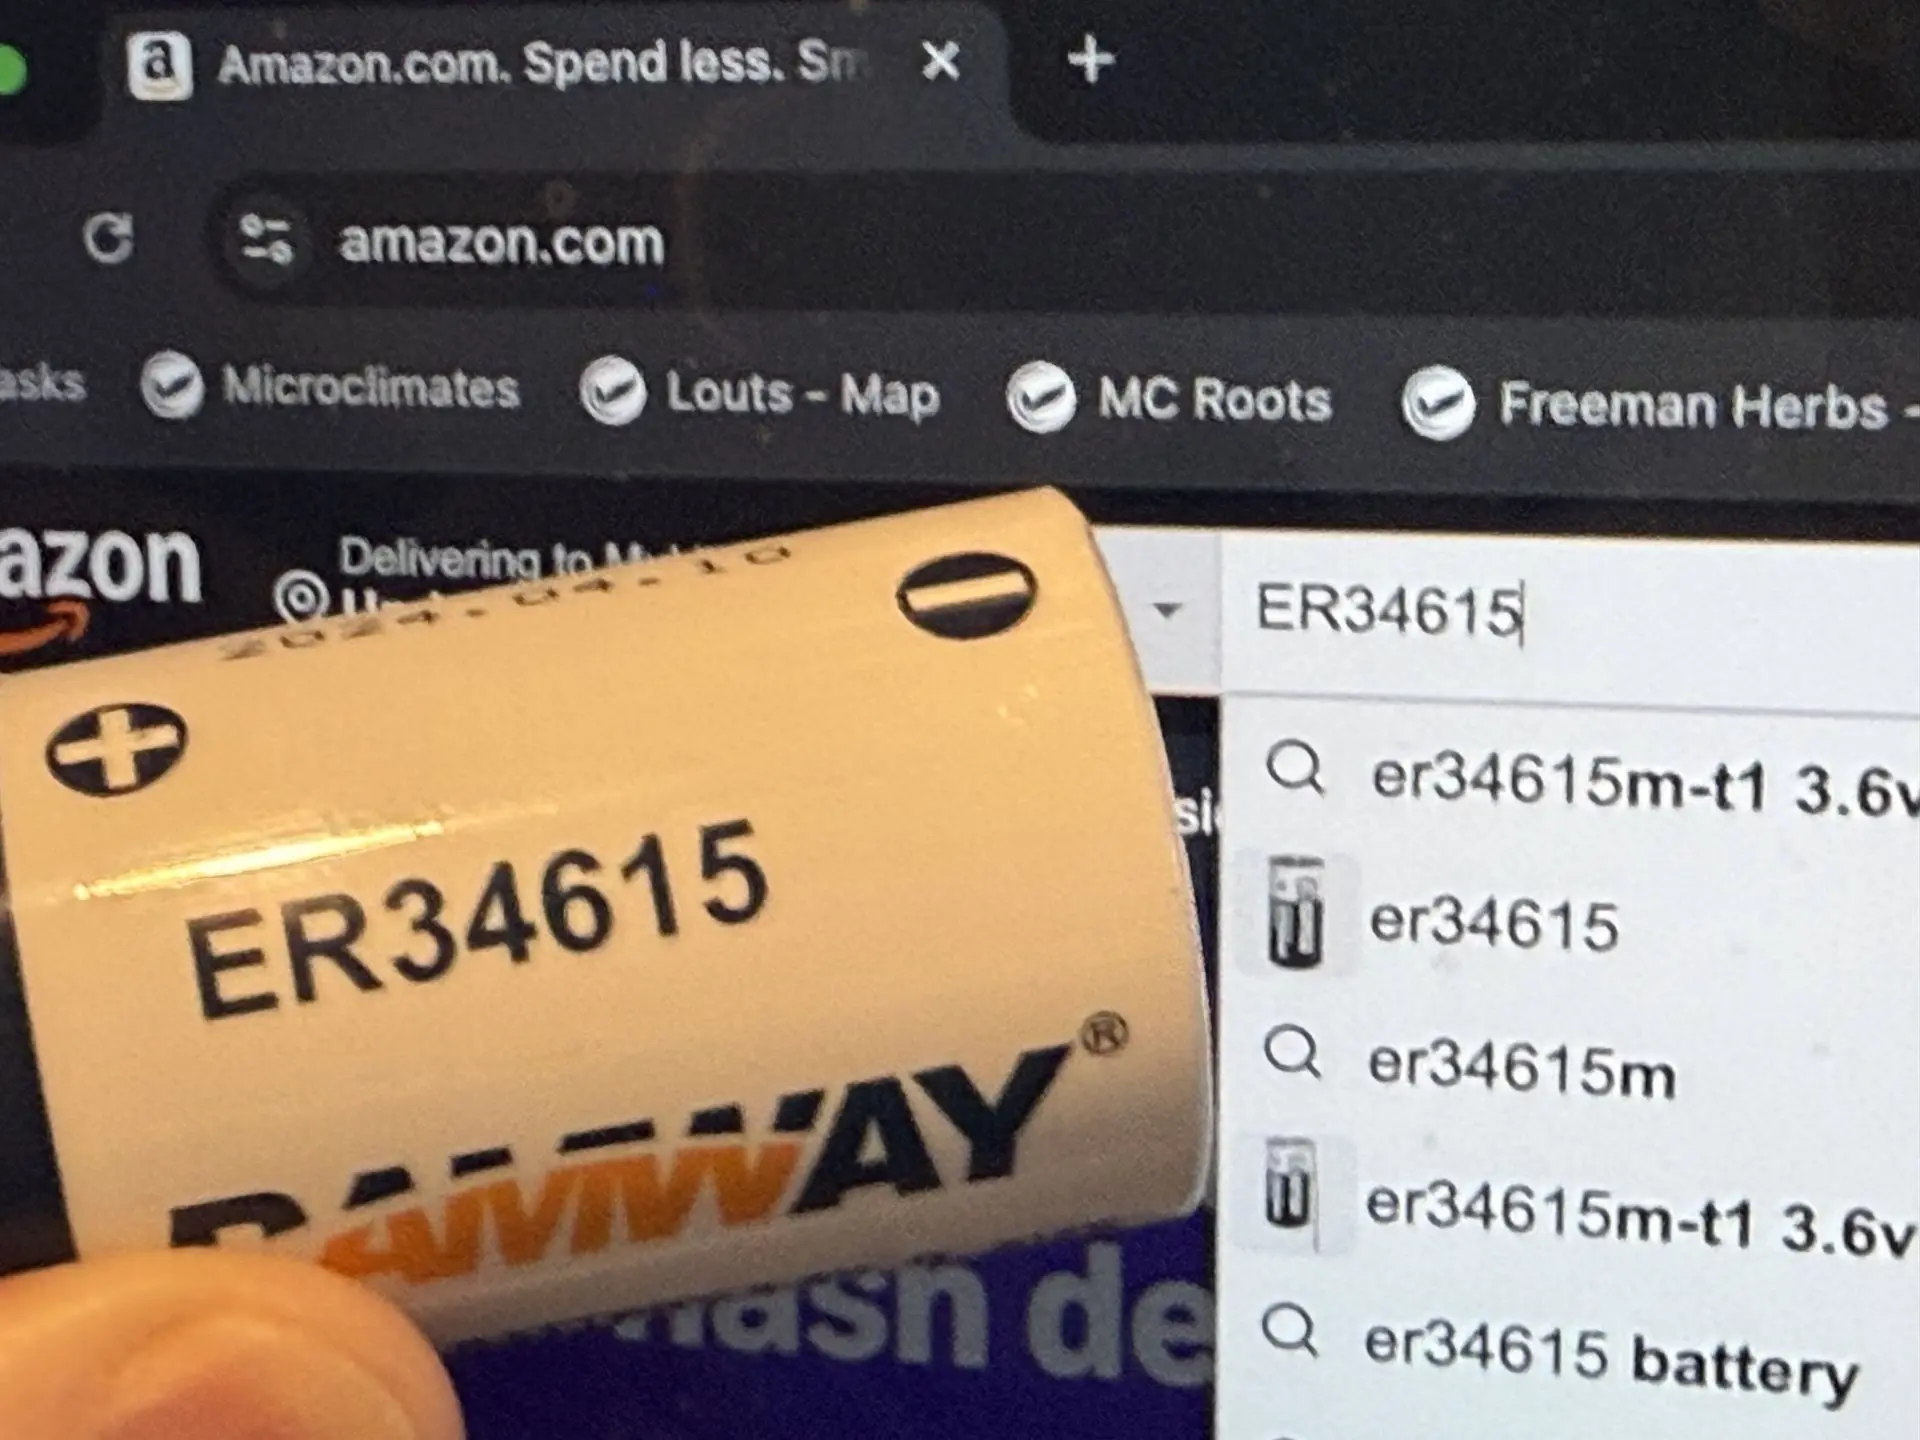
- Replacement batteries (ER34615 batteries) can be found on third-party sites where electronics are bought and sold.
- Align battery according to the drawing shown between the battery holding prongs, with the positive electrode towards the cap you unscrewed in Step 2.
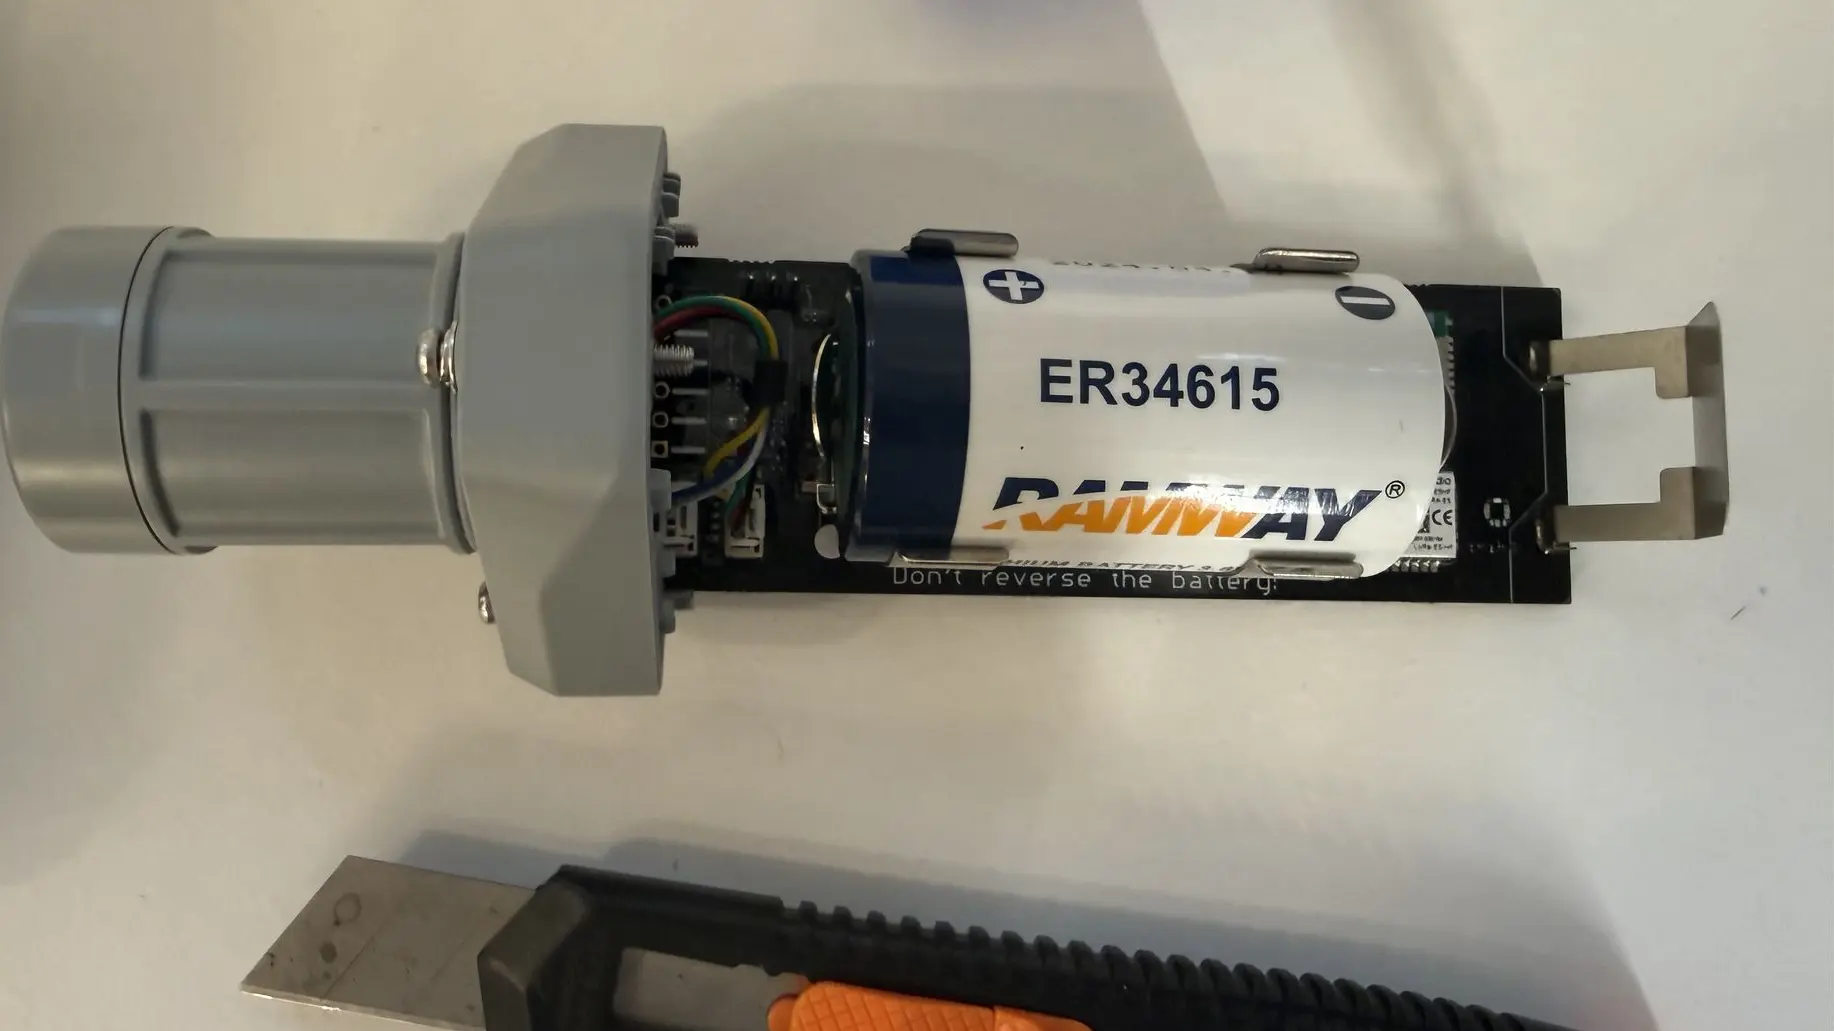
- Slide the device back into the casing as depicted below and screw the cap back onto the casing. Now your S2103 battery has been replaced and it is ready to resume operation.