Design Your Operation with EnvOS Studio
EnvOS Studio — Build Your Environmental Operation
EnvOS Studio is where you design the monitoring and control needs for your operation. Build your environment by creating zones, selecting applications, and adding sensors and controls from Microclimates' proven integrations.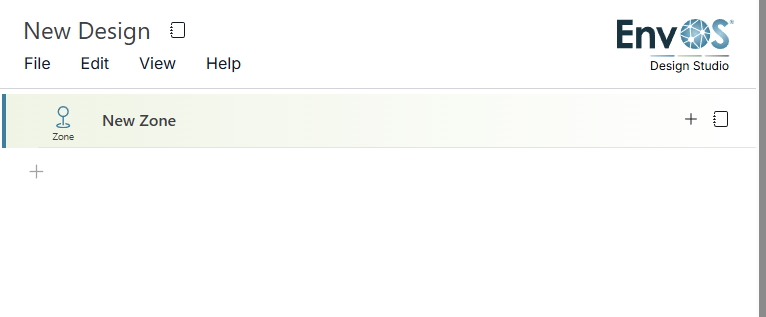
1. Log In
Log in to: https://www.microclimates.com/design-studio
2. Name Your Design
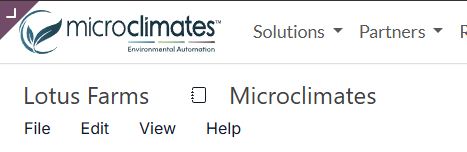
At the top of your screen, above the toolbar, you may click to enter a name for your new design and for the company the design belongs to.
In the example below, we name our design 'Lotus Farms' for our company 'Microclimates'.
3. Add Your First Zone
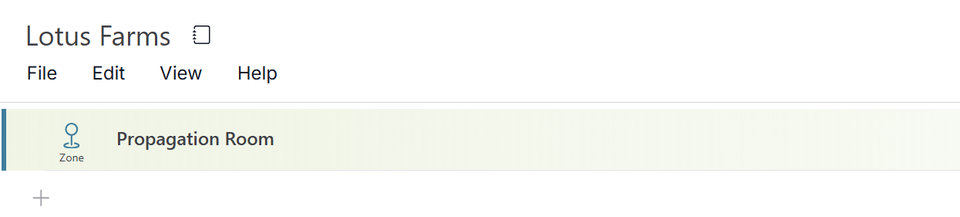
Name your first zone by hovering over 'New Zone' and entering the zone name. In this example, we name the first zone 'Propagation Room'.
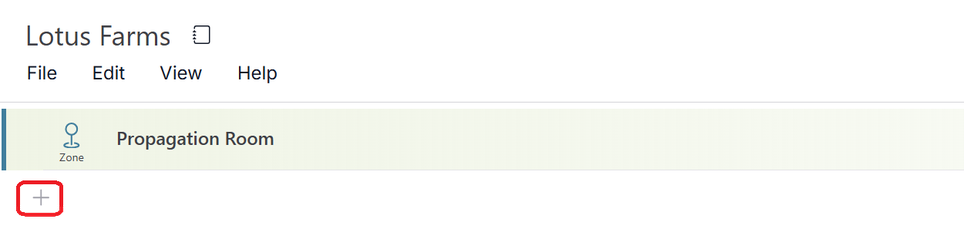
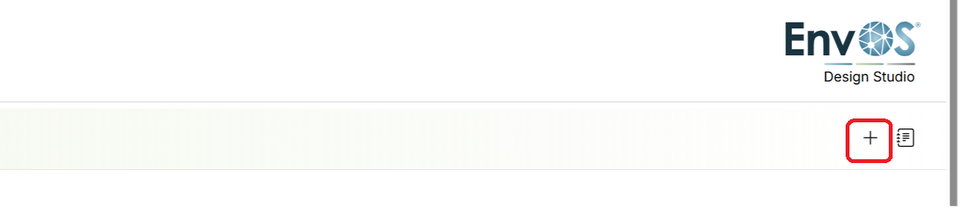
To continue adding zones, click the '+' Icon on the right side of the screen.
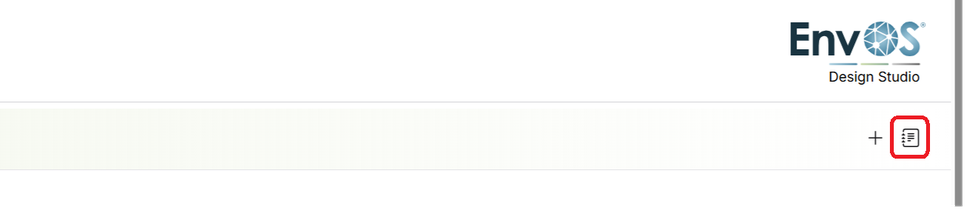
To add information or specifications for a zone, click the Notes Icon on the right side of the screen, beside the '+' Icon.
Once the Notes Icon is clicked, a pop-up menu will appear. Here, you may enter any notes you have for the attached zone. Be sure to click 'Save' once you have finished entering notes.
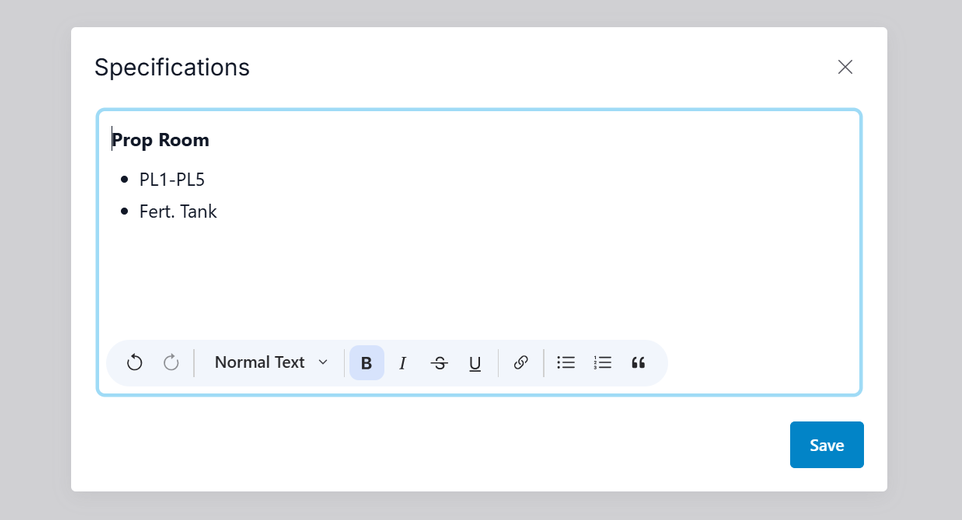
The notes feature is helpful for adding & recording application or zone-specific information or requirements.
Notice the Notes Icon changes for any line that contains notes: 
4. Add Applications & Sub-Zones
For each zone, add the application(s) you want to monitor or control.
To add an application, you can:
- Click the '+' Icon on the right side.
- Right-click the zone.
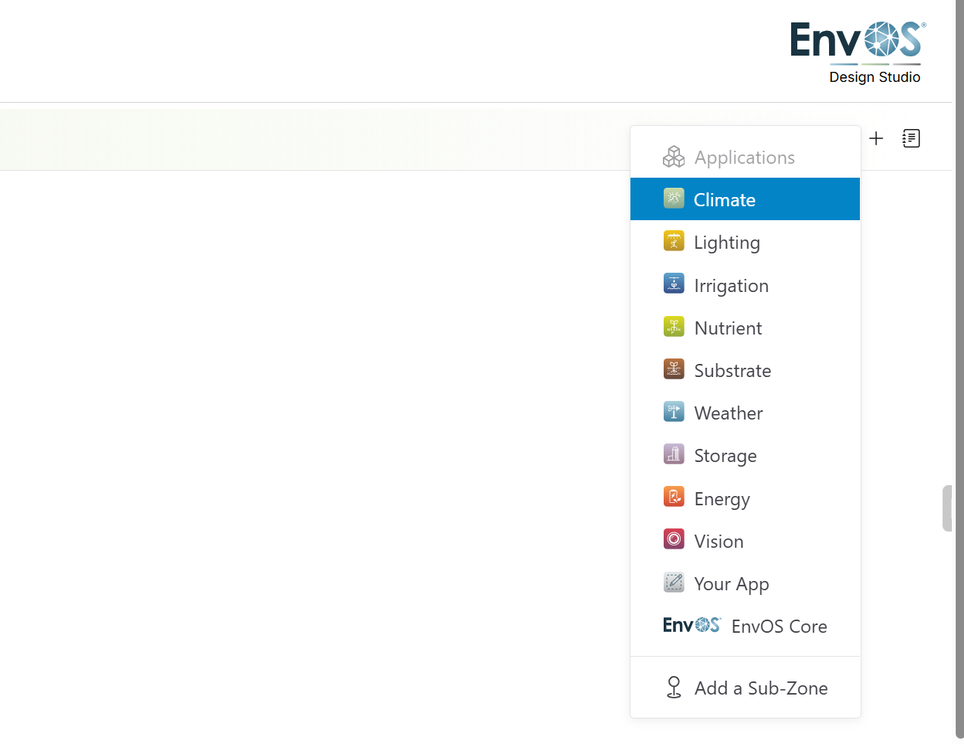
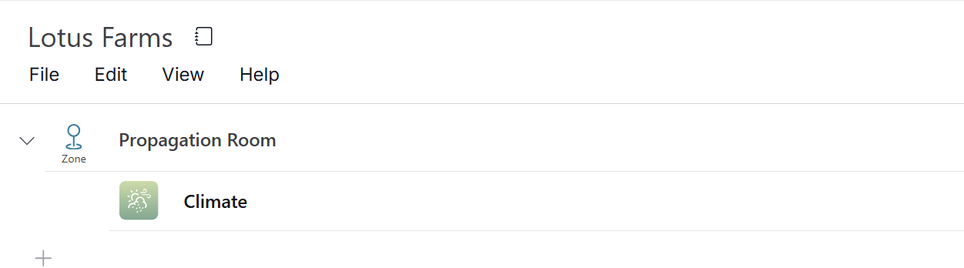
The example below demonstrates the addition of the 'Climate' Application:
Once the 'Climate' Application is added, it should appear as shown below:
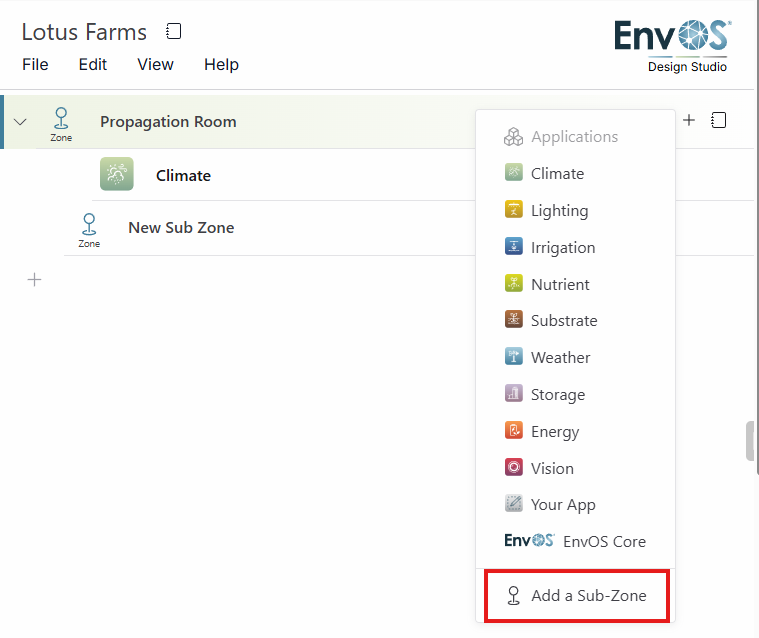
After clicking the '+' Icon , you can also click the 'Add Sub-Zone' option at the bottom of the list that appears to add a Sub-Zone.
5. Add Sensors & Controls
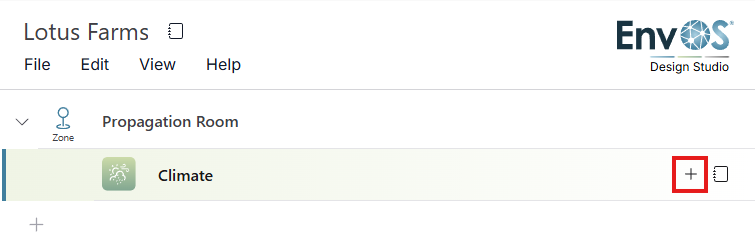
For each application, you can add the sensors and controls required. Click the application line to highlight it. Once highlighted, the '+' Icon will appear, allowing you to add sensors or controls.
Click the '+' Icon next to the application and select 'Sensors' or 'Controls'.
5A. Select a Product
When you select 'Sensors' or 'Controls', you will be directed to the Microclimates Shop, where you can browse and filter products based on your requirements.
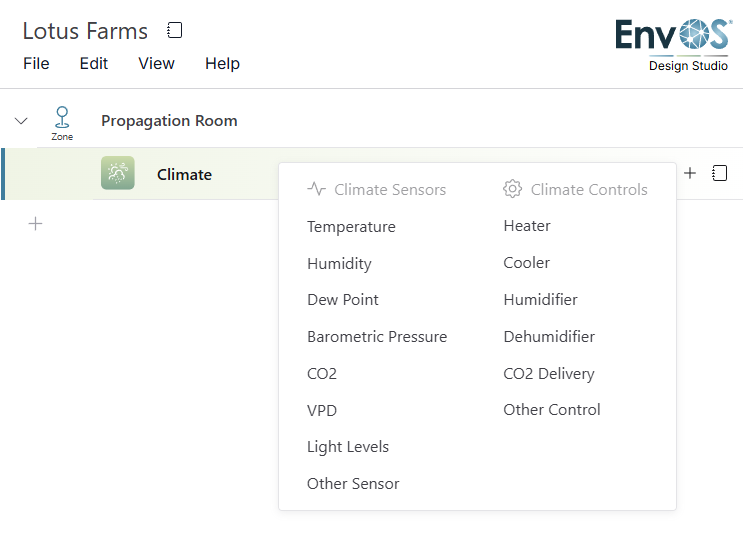
The example below shows selecting 'Temperature' from the available climate sensors. You will be directed to the Shop, where you can view all available integrations and use filters to narrow the options based on your needs. When selecting a sensor or controller from this menu, filters are automatically applied to the pop-up shop window, pushing 'Temperature' devices to the top of your search.
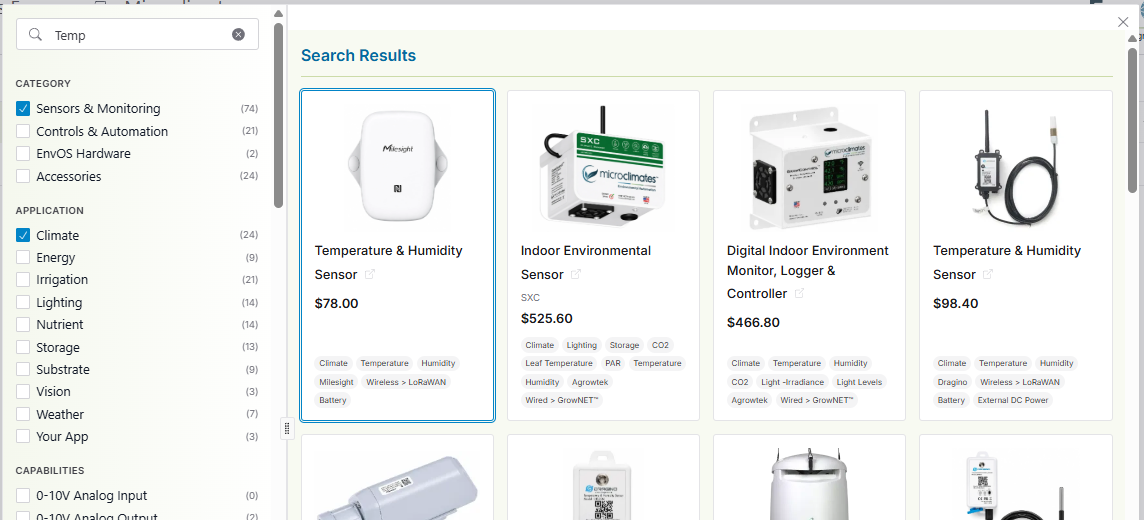
5B. Add the Product to Your Design
Select the product you want to use. It will automatically be added to your EnvOS Studio design.
Below example includes the addition of the Milesight 'Temperature & Humidity Sensor':
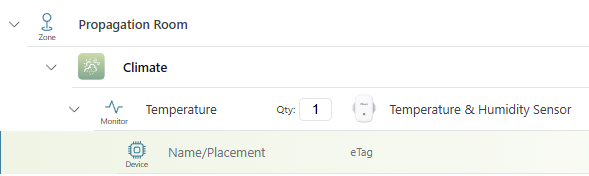
From your design, you can:
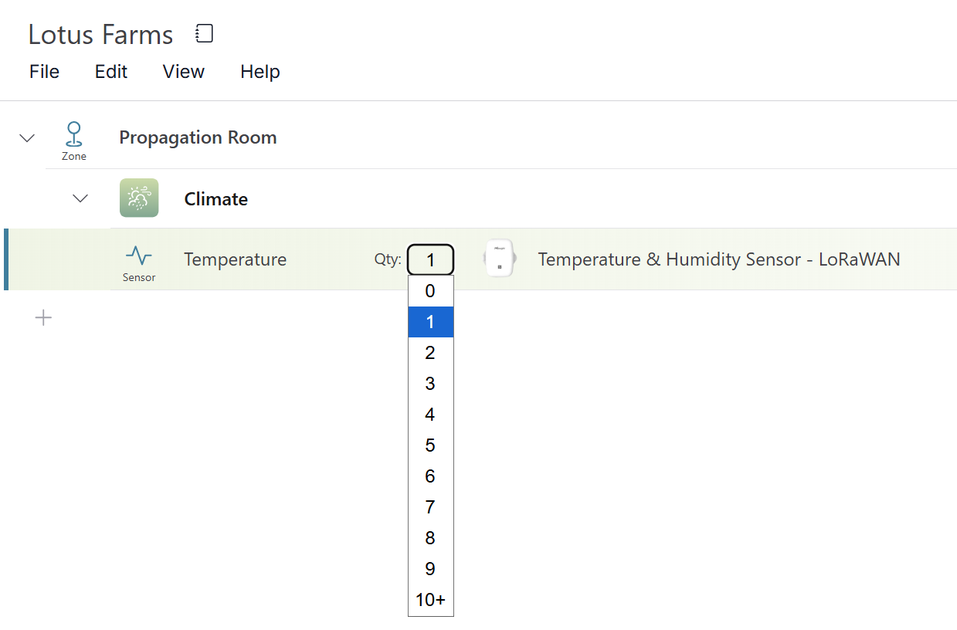
Click 'Qty' to change the quantity.
- Click the product name to return to the Shop and select a different sensor or controller.
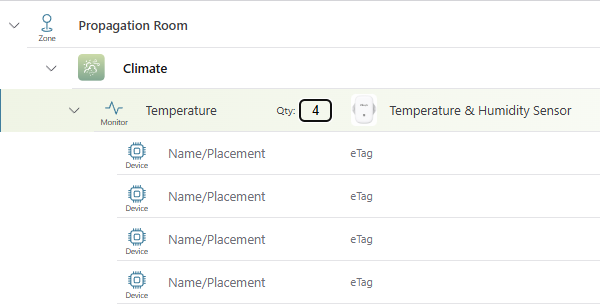
Click 'Name/Placement' or 'eTag' to specify the device name or eTag ID respectively. If you raised the device quantity above 1, there will be multiple lines to specify the device name and eTag. The eTag is the QR-Code ID. If you leave the eTag blank, one will be assigned during eTag QR-Code creation.
6. Right-Click & Toolbar Functions
This section details the functions found by right-clicking a line or by navigating the toolbar beneath your design and company names.
6A. Right-Click
Right-clicking a line brings up the menu below:
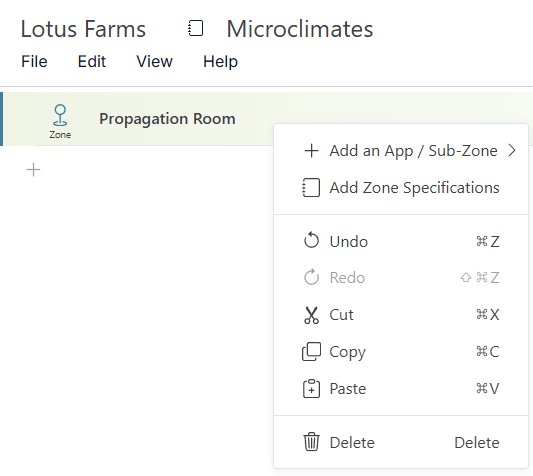
Actions in the right click menu include:
- Add an App / Sub-Zone | Detailed in Section 4.
- Add Zone Specifications | Detailed in Section 3.
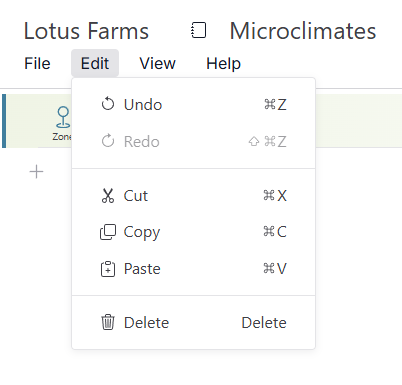
- Undo/Redo | Reverses the most recent edit or moves forward one edit, respectively.
- Cut | Removes an item from the design whilst copying it to your clipboard to allow pasting.
- Copy | Copies an item from the design to your clipboard to allow pasting
- Paste| Inserts a cut or copied item into the design.
- Delete | Delete the item you right-clicked to bring up this menu.
6B. File
Clicking on 'File' brings up the menu below:
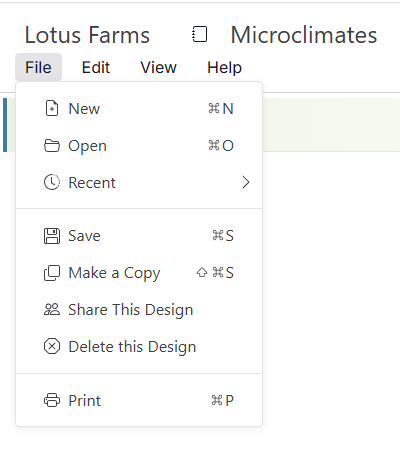
Actions in the 'File' menu include:
New | Create a new design template.
Open | Open a previously saved design.
Recent | Hover over this tab to view recently accessed designs.
Save | Save edits to your current design.
Make a Copy | Duplicate your current design.
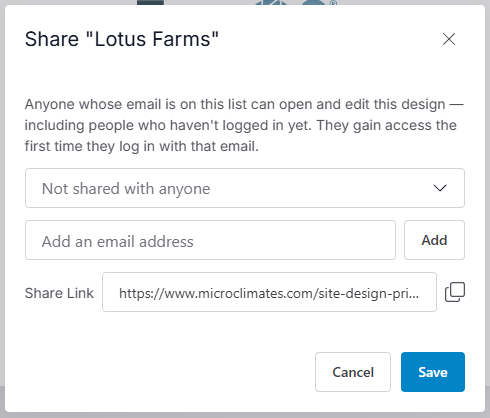
Share This Design | Opens the menu below. Click on the dropdown menu to change current permissions regarding all who have access to the design. Add an email address to share this design via email (must be an email that the individual logs into Microclimates with). Share the link to your design to grant access to anyone with the link.
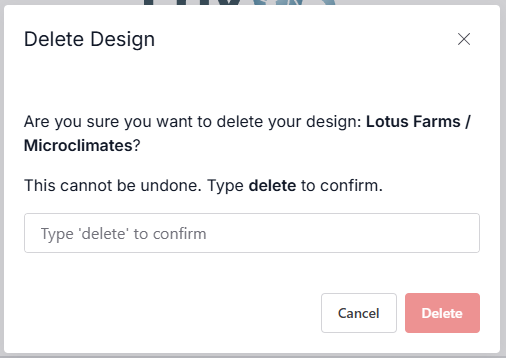
Delete This Design | Delete the current design. When clicked, a pop up menu will appear asking you to type in the word 'delete' to confirm deletion, as pictured below:
Print | Opens your devices print menu so you can configure printing for the 'Report View' of your design, detailed further in Section 5D.
6C. Edit
The actions below, found by clicking 'Edit' in the toolbar, function as detailed in Section 5A:
6D. View
Clicking on 'View' brings up the menu below:
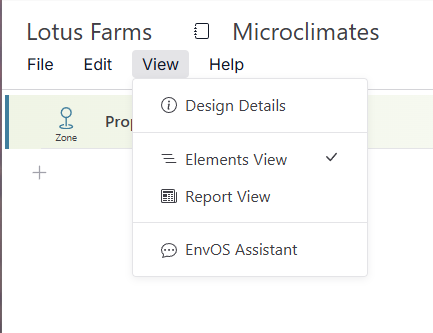
Actions in the 'View' menu include:
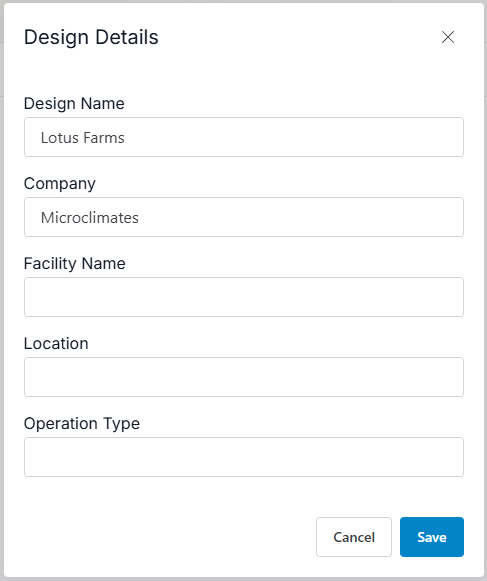
Design Details | Opens the pop-up below, where you can input and 'Save' the Design Name, Company, Facility Name, Location, and Operation Type:
Elements/Report View | Elements View will be selected by default. In 'Report View', your design - with all your zones, applications, and devices - will be displayed as a print-friendly report that includes:
- A Title Page & Table of Contents, an auto-generated summary of your design, an overview of the Facility's details, the System Design by Zone, a Bill of Materials, Device Provisioning, and any Notes you recorded. This is the format you will see your design in when you select 'Print', as mentioned in Section 5B.
- EnvOS Assistant | Opens the EnvOS Assistant. See Section 5E below for more details.
6E. Help
Clicking on 'Help' brings up the menu below:
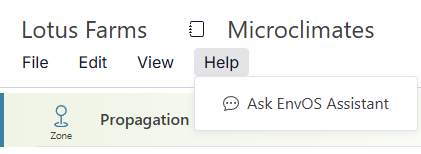
Clicking 'Ask EnvOS Assistant' brings up the EnvOS Assistant on the right side of your screen. You may also access the assistant by clicking the blue EnvOS Assistant Icon  in the top right corner of your screen, as shown below:
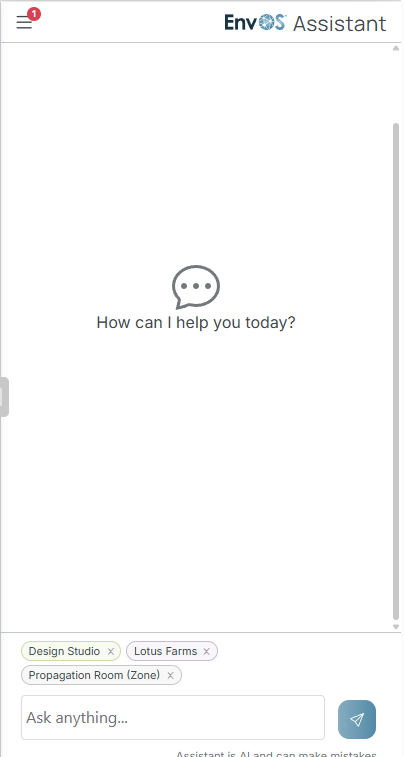
The EnvOS Assistant can assist you with the following examples:
Design Building | Adding new named zones, sub-zones, and applications.
- Try asking "Can you create a new zone called 'Test'?"
Adding Devices | Adding sensors or control devices to zones or sub-zones.
- Try asking "Can you add a product to record humidity in the 'Test' zone?"
Design Studio Use Questions | Learning to navigate the design studio or use certain features.
- Try asking "How do I move the humidity sensor from the 'Test' zone to the 'Propagation' zone?"
7. Save Your Design
After making edits, always be sure to save them to your design by navigating to the 'File' tab in the toolbar and selecting 'Save' from the dropdown menu.
There are no comments for now.
to be the first to leave a comment.